Rose grounds
Contents
- Introduction
- Rose ground
- Sunny stitch
- Slavic ground
- Ants
- Stretched Paris ground
- Rose ground in a diamond
- Alternative placings
Introduction
On this page several variants of the rose ground.
The variants with an extra stitch in the middle can be found on page Bias grounds.
A zip file with more than 2000 rose ground variants can be downloaded here.
Rose ground
Sunny stitch
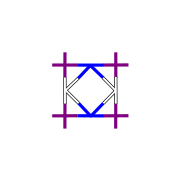
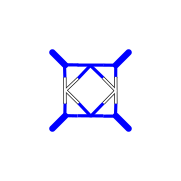
This stitch is created with a little loop at the sides of the rose ground. To obtain this, an onorthodox stitch is used at the sides of the unit. The examples below all use the same unit, but these units are connected in different ways.
Slavic ground
Ants
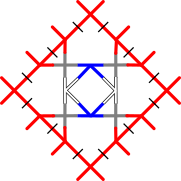
 Ants came to life as a variation of the Slavic ground. The result looks like ants. Please note that in some examples there are no twists between the cross only and whole stitch at the pins.
Stretched Paris ground

Rose ground in a diamond

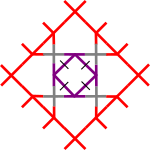
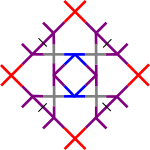
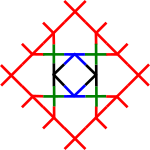
Please note: when making the actual lace, it will make a big difference if the unit in the middle is made torchon-style or flemish-style, as the picture illustrates. Example 1 looks like a star.
Alternative placings


⇑


